1. Create your presentation as you would normally (e.g. with Persuasion, PowerPoint, etc.).
2. Save your slides as a series of PICTs. Make sure you name your saved PICTs with names that you would like displayed as links in your Virtual Presentation.
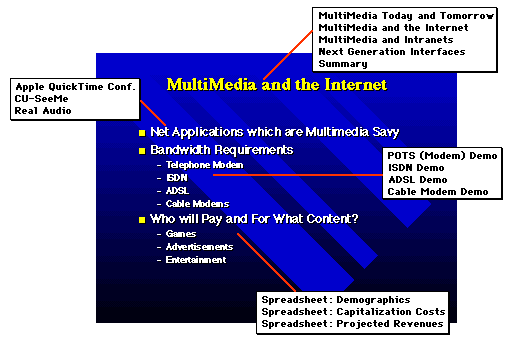
3. Open your introductory slide PICT with Virtual Impressions. If you do not want any additional links associated with this slide (for launching applications, Web sites, etc.), then just drag out a rectangle over some part of the picture where you wish to click to advance to the next slide. Example:

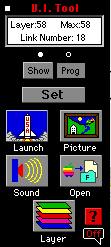
3. Click the "Layer" button![]() in the VI Tool
in the VI Tool
 .
.
4. Click the ![]() button and choose "Create Layer" from the popup menu.
button and choose "Create Layer" from the popup menu.
5. Open your second slide PICT.
6. Choose the settings which best suit your needs (full width image, show Home & Back Buttons, etc.).
7. Click "OK". Your second slide PICT will be loaded and you are now ready to create links in your second slide.
8. Now create links as desired for your second slide. Launch applications. Link Web sites. Open documents. Play sounds. Open pictures. Launch QuickTime movies. And, when you are done setting all desired links for this slide, set a new Layer link to take you to your next slide!

Don't worry if you haven't thought of all the links you will need for a particular slide....you can always come back to create additional links!
Imagine...each slide can have up to 100 different links. And your presentation can consist of 64 different slides. WOW.... that should keep their attention!